Chassis migration
In an earlier post I mentioned my homelab server, a 1U Supermicro server I picked up for a song on OfferUp. I love it! It came with an X10 motherboard sporting dual Xeon E5-2620 v4 CPUs!! The 4x hot swap bays were immediately populated so with the "need" to expand I sourced a 2U 12 bay Supermicro SC826 JBOD array on Craigslist. There are loads of deals to be had on enterprise hardware out here in SV!
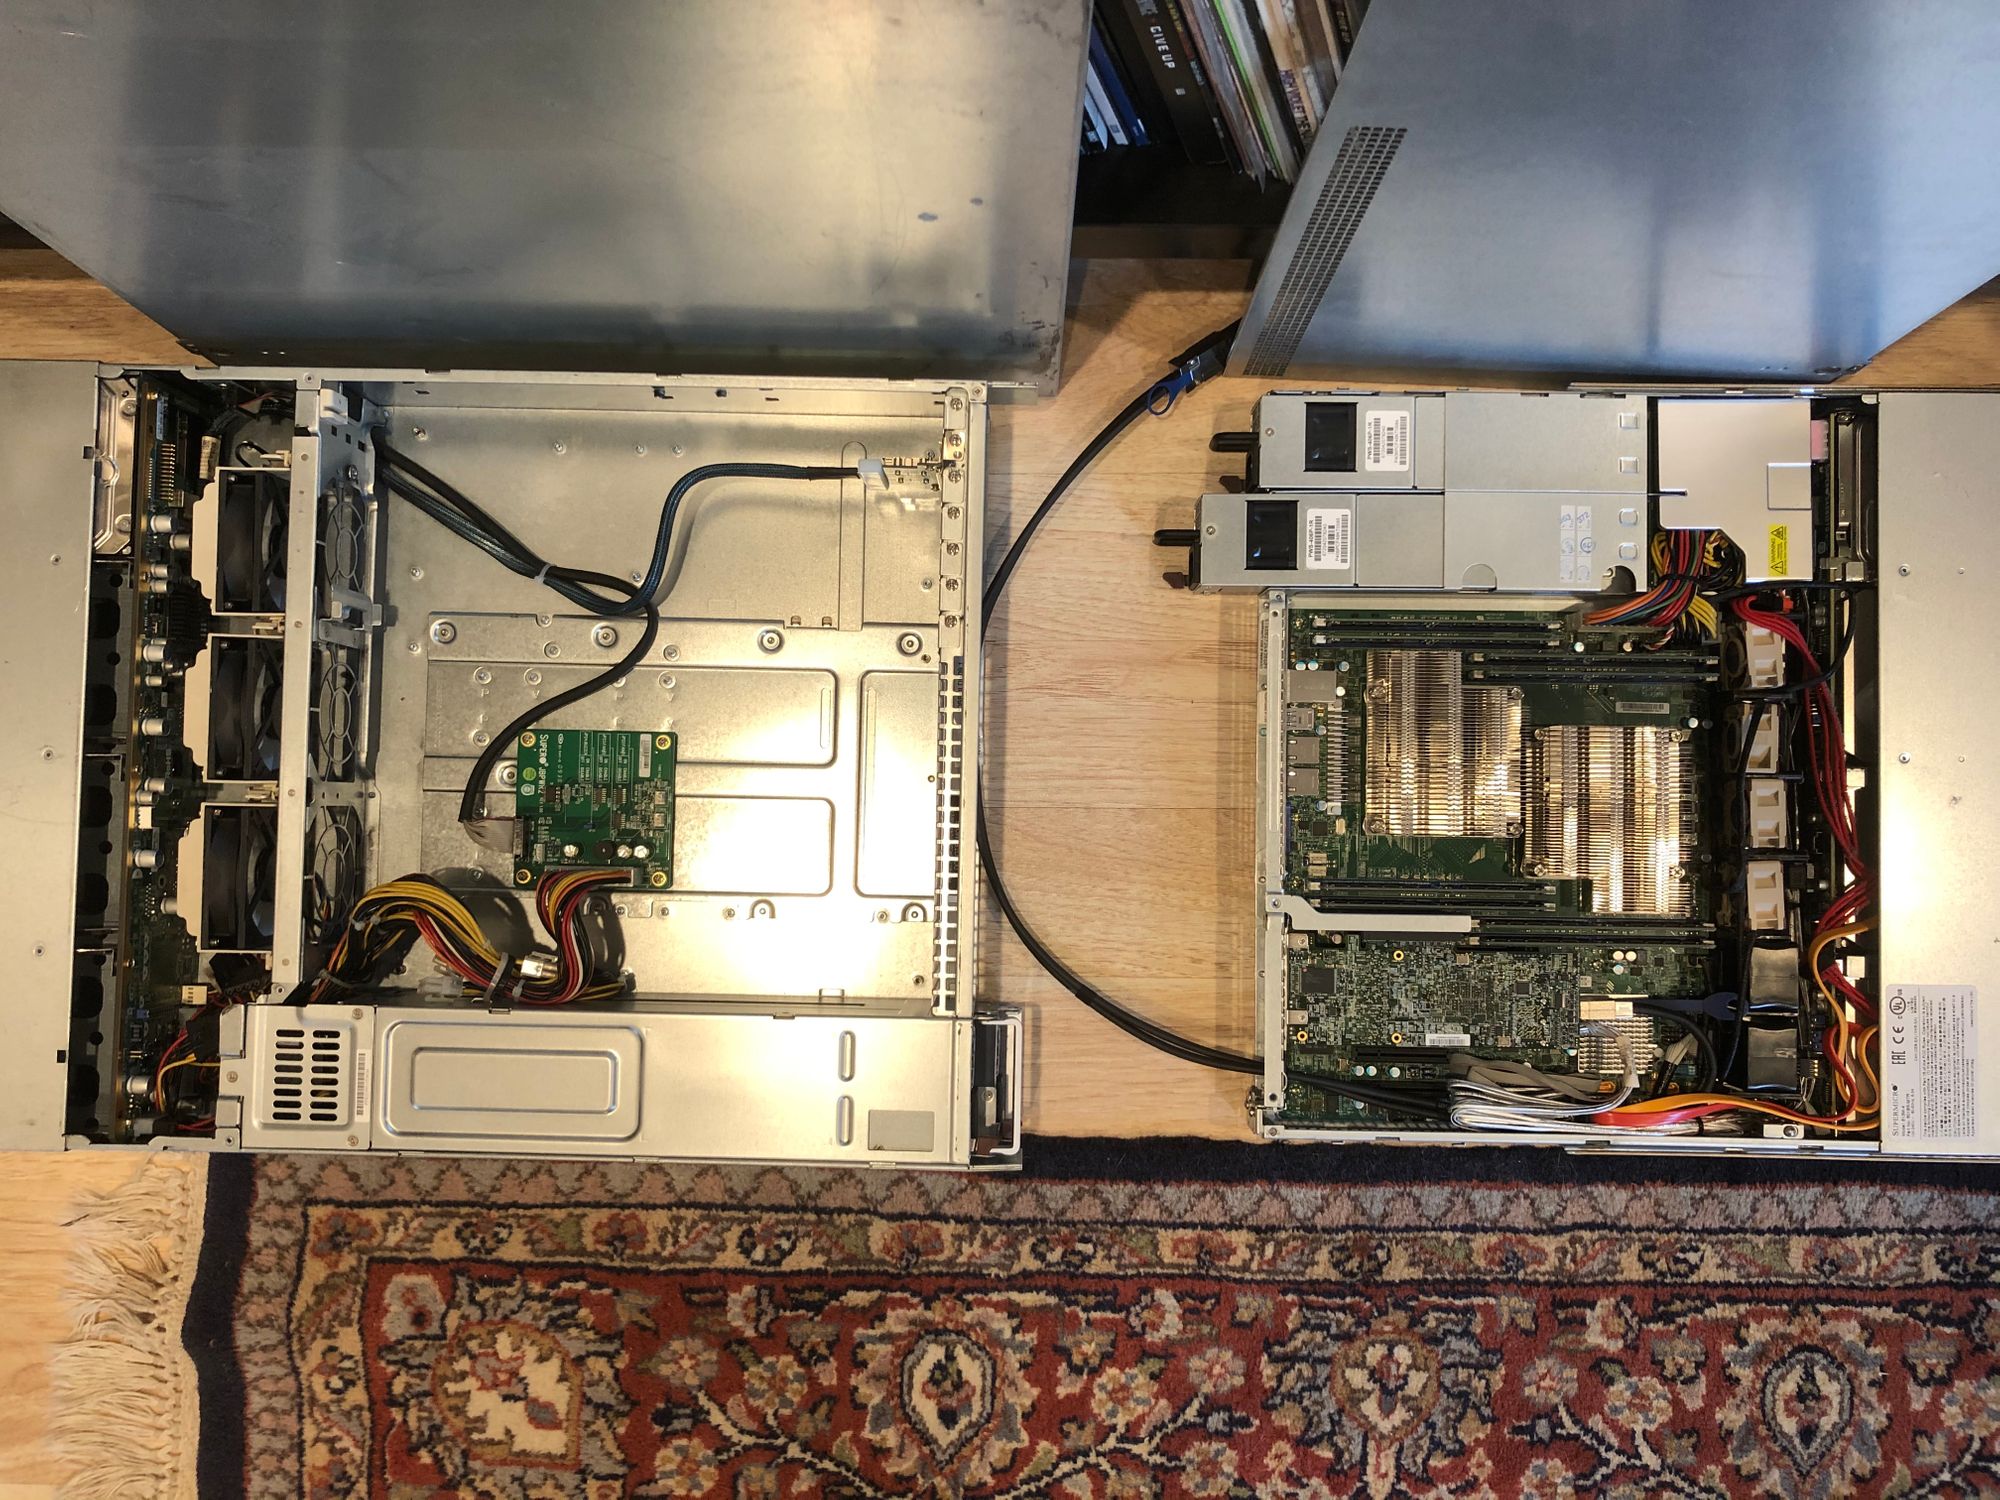
With the main server being 1U, expansion is limited due to the height of the server and the fact that the RAID controller was on a riser card which blocked most of the PCI expansion slots anyway. I wanted to add the 1TB M.2 NVMe SSD I had laying around, but there was no room in the 1U chassis. Looking for more space I realized I could move into the 2U chassis and get some room to grow.
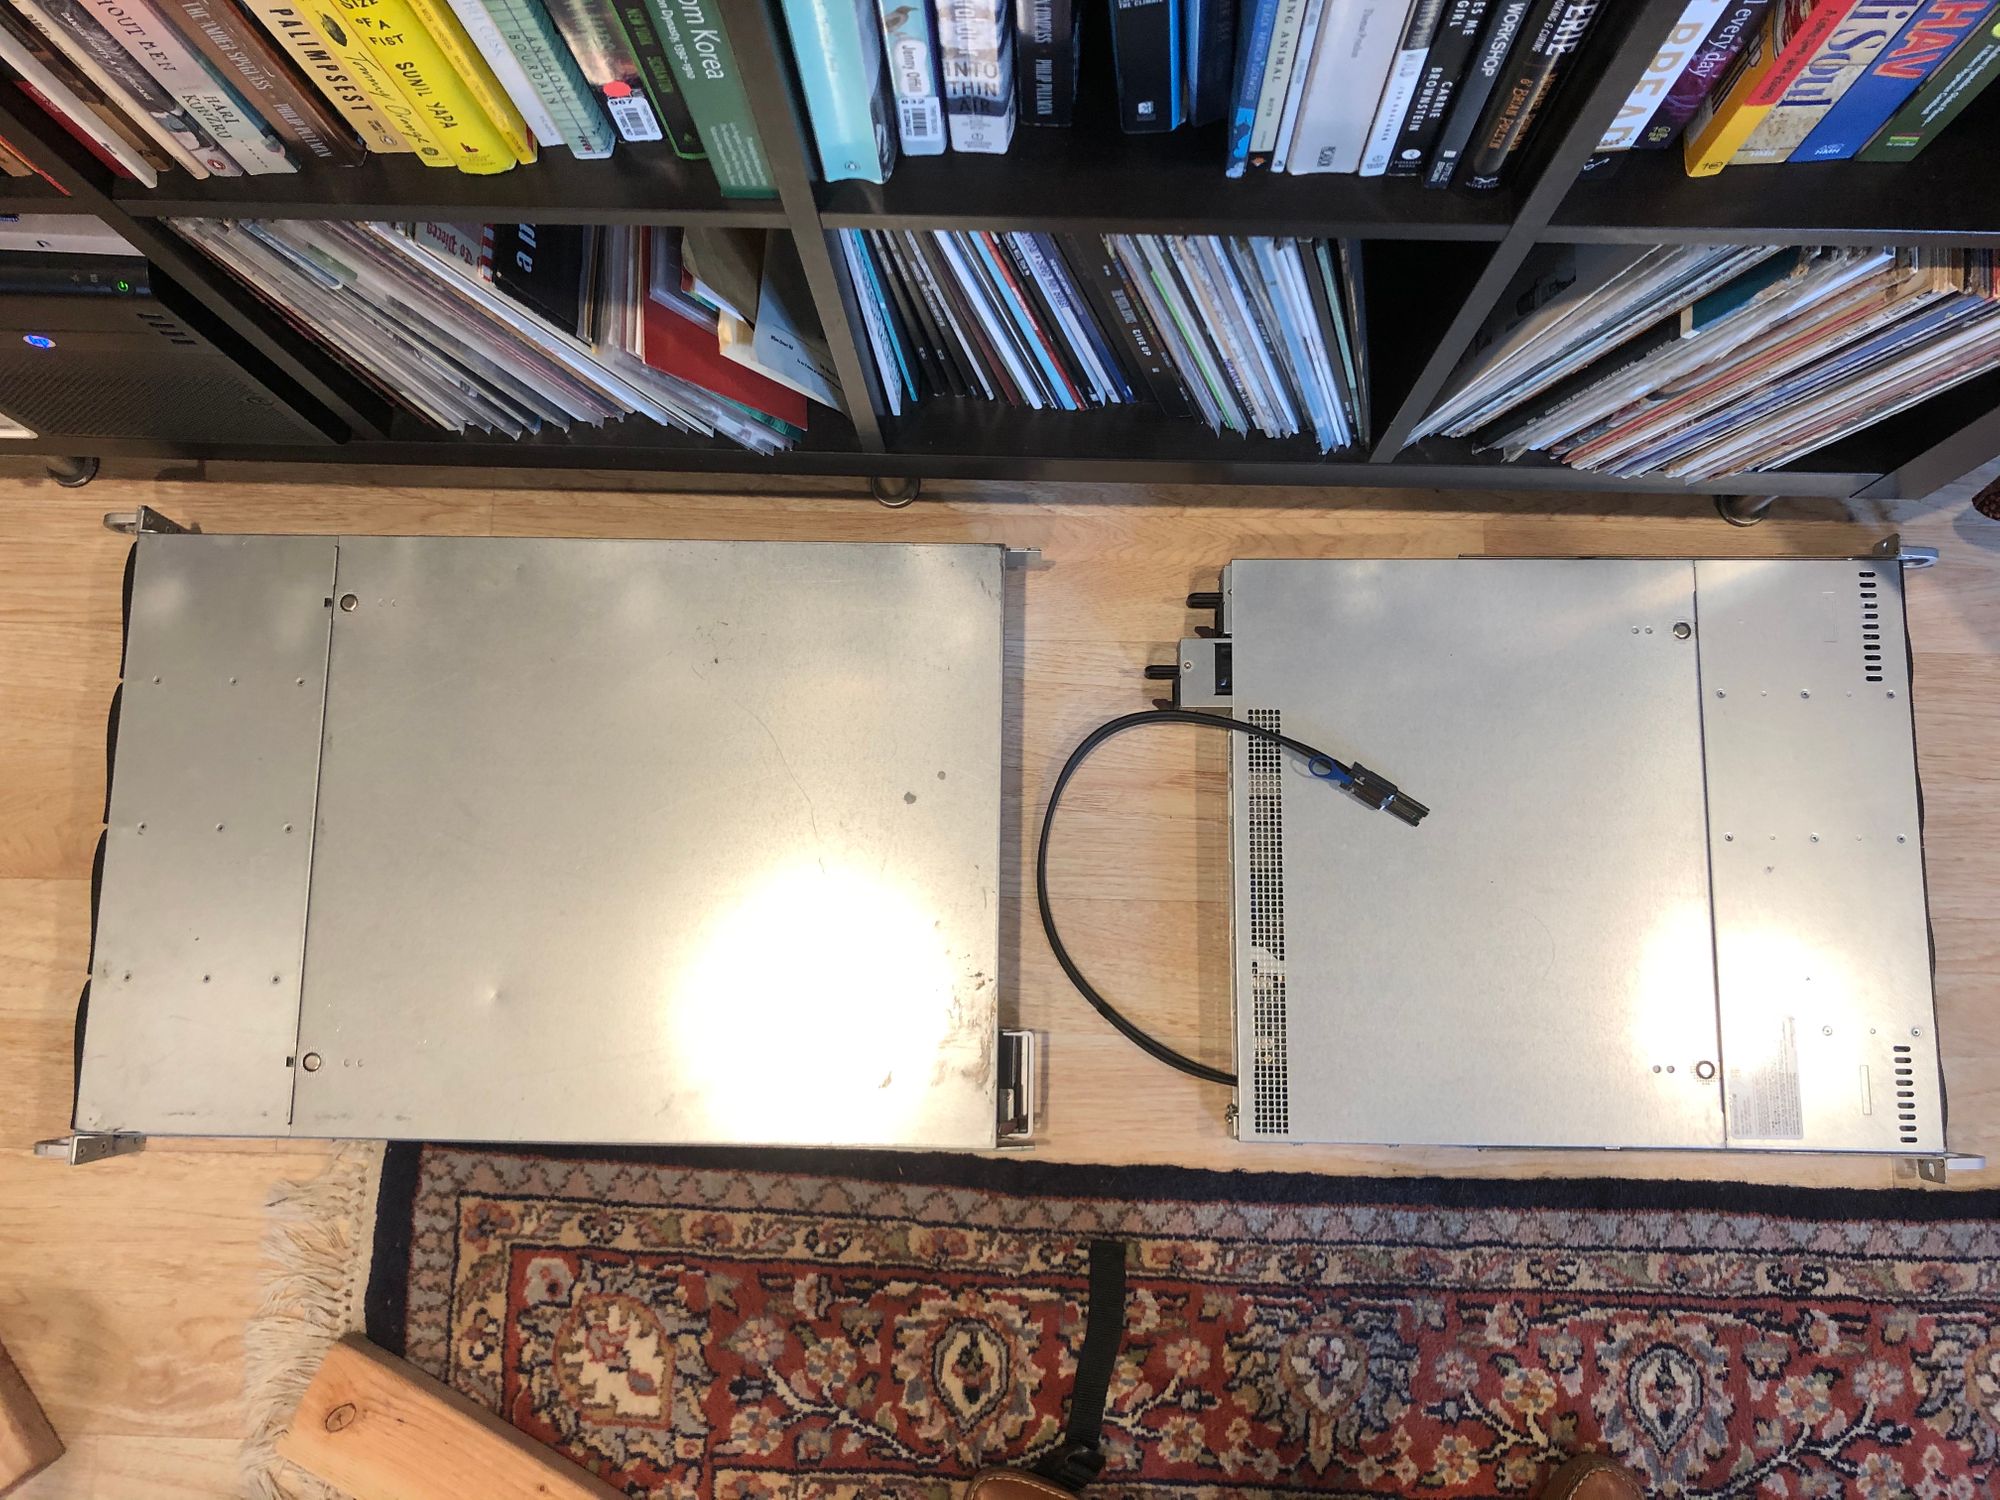
The SC826 came in true JBOD form with a JBPWR2 power board. This is essentially a stripped down "motherboard" that controls the PSU and fans. Originally I fished a SAS cable from the RAID controller to the external connector on the JBOD. You can see this cable hanging out from the server on the right.
The swap was quick and easy, if you've built a computer before you'll be right at home. Even if you haven't, it's just a couple of screws. I needed a new SAS cable with SFF8643 to SFF8087 connections to connect the backplane to the RAID controller. That's all that's needed but to add the NVMe drive I found the Supermicro AOC-SLG3-2M2. It's low profile so it will fit in the 2U no problem and supports dual M.2 drives but I'll only be populating one for now.
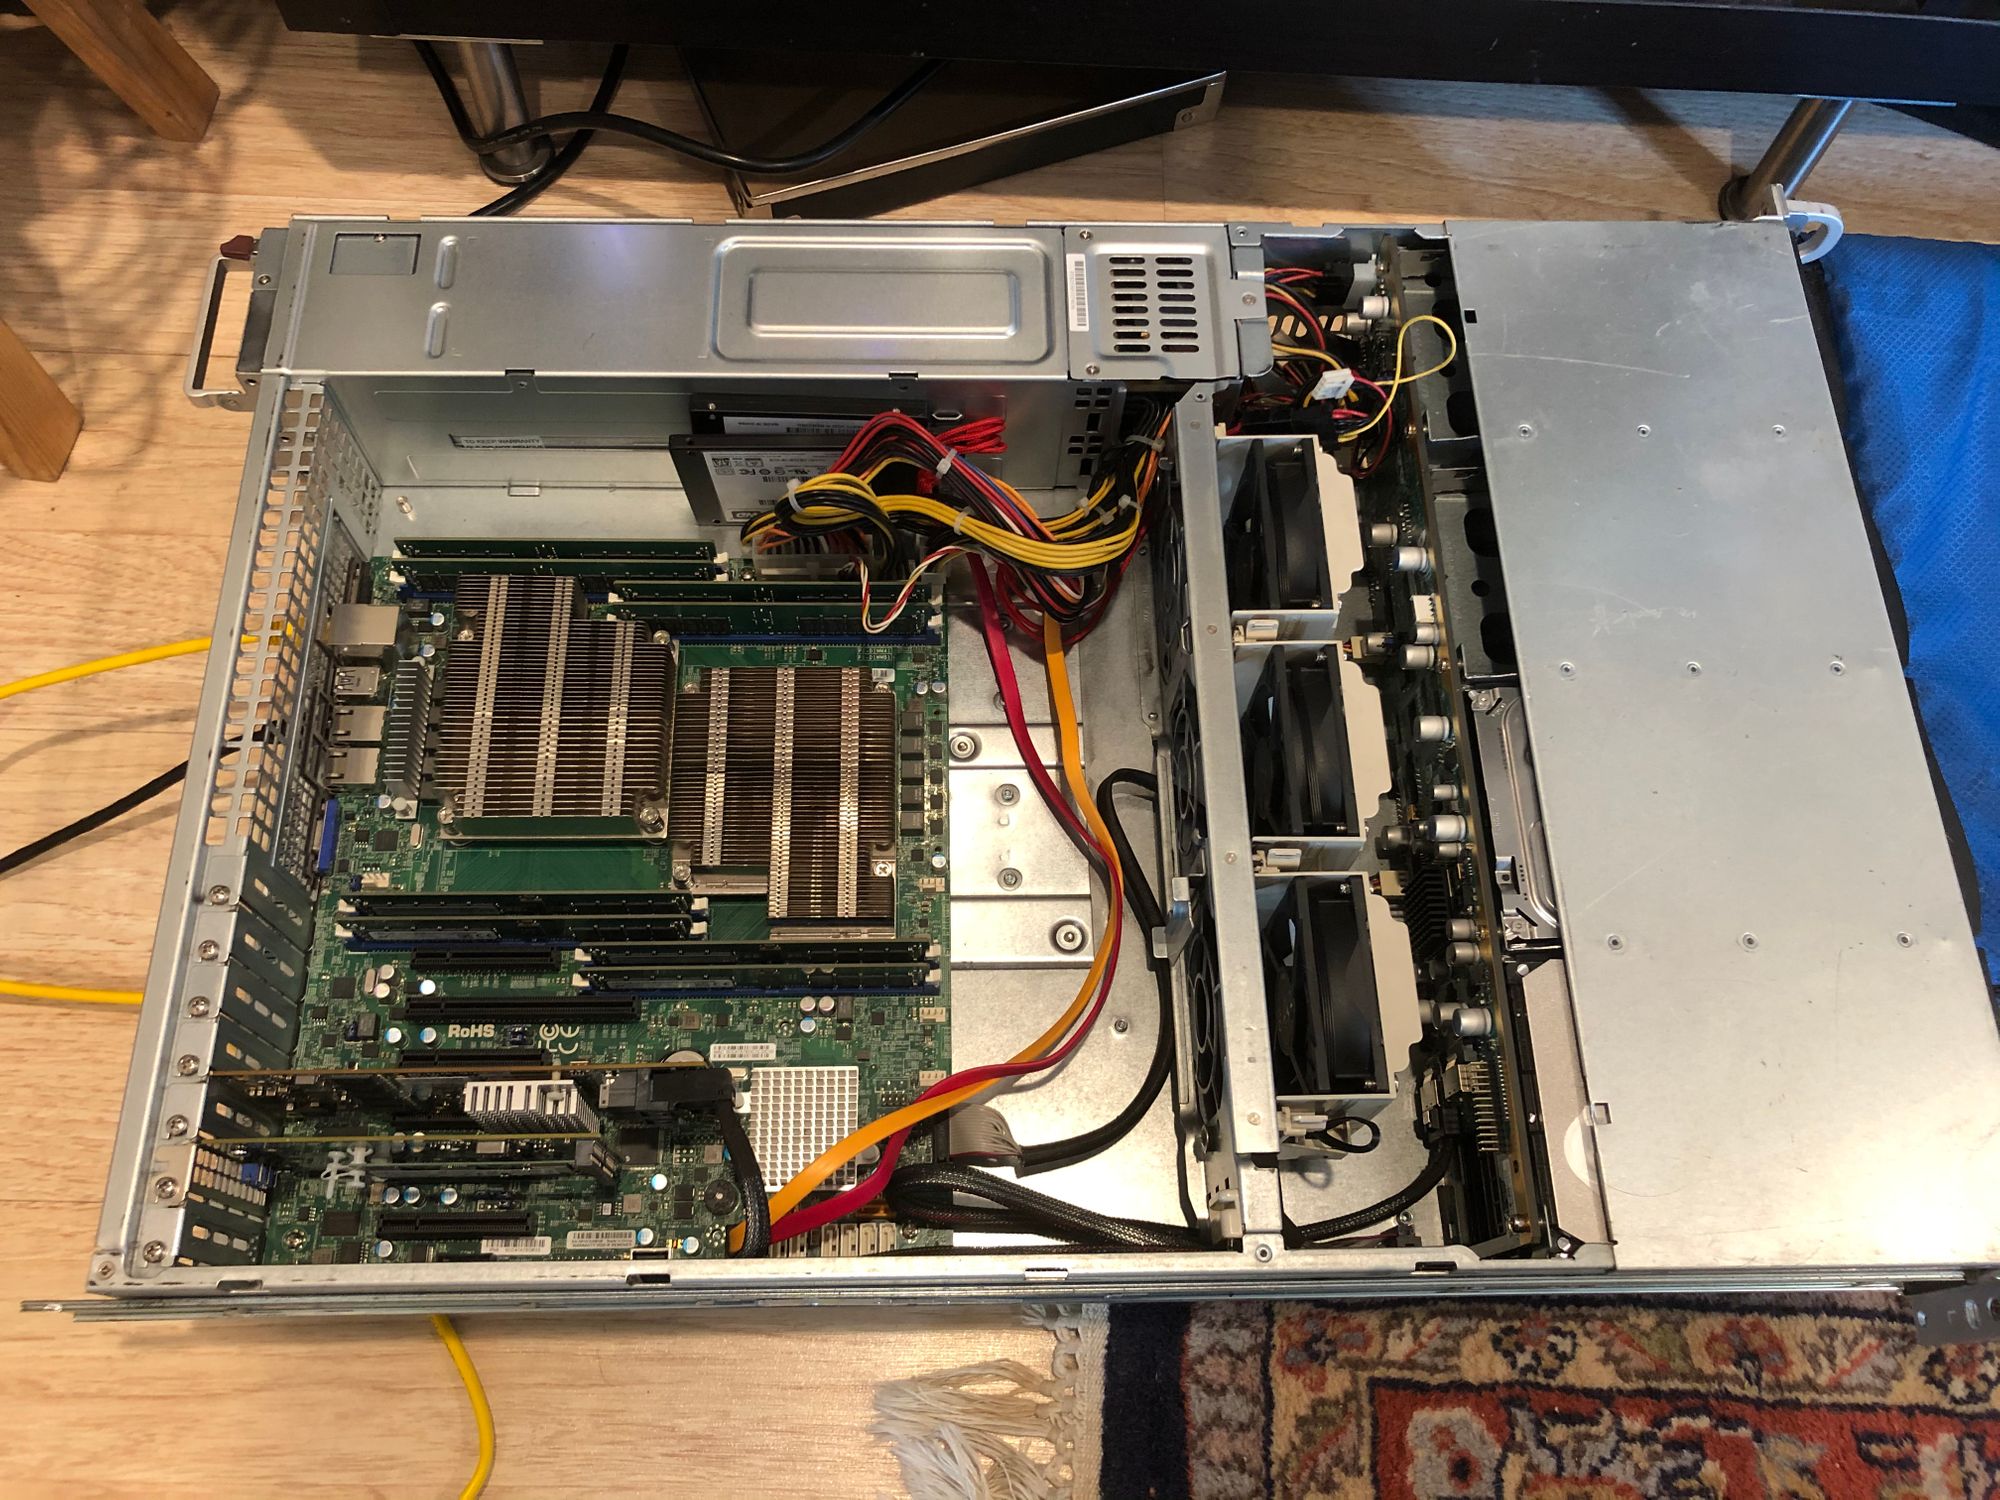
Besides wasting some time realizing I forgot to plug in the SATA cable on my SSD boot drive the chassis migration was painless! With the TICK+G stack I stood up in a previous post I'm able to use the SMCIPMI Telegraf plugin I developed to see that the server is actually running a bit cooler and the PSU fans idles almost 1k RPM slower! Now I just need to finish my DIY server rack.